Follow the Steps below to record your podcast:
- Rehearse your speaking points/recording before you start!!!
- Open Garage Band on an iPad:
-
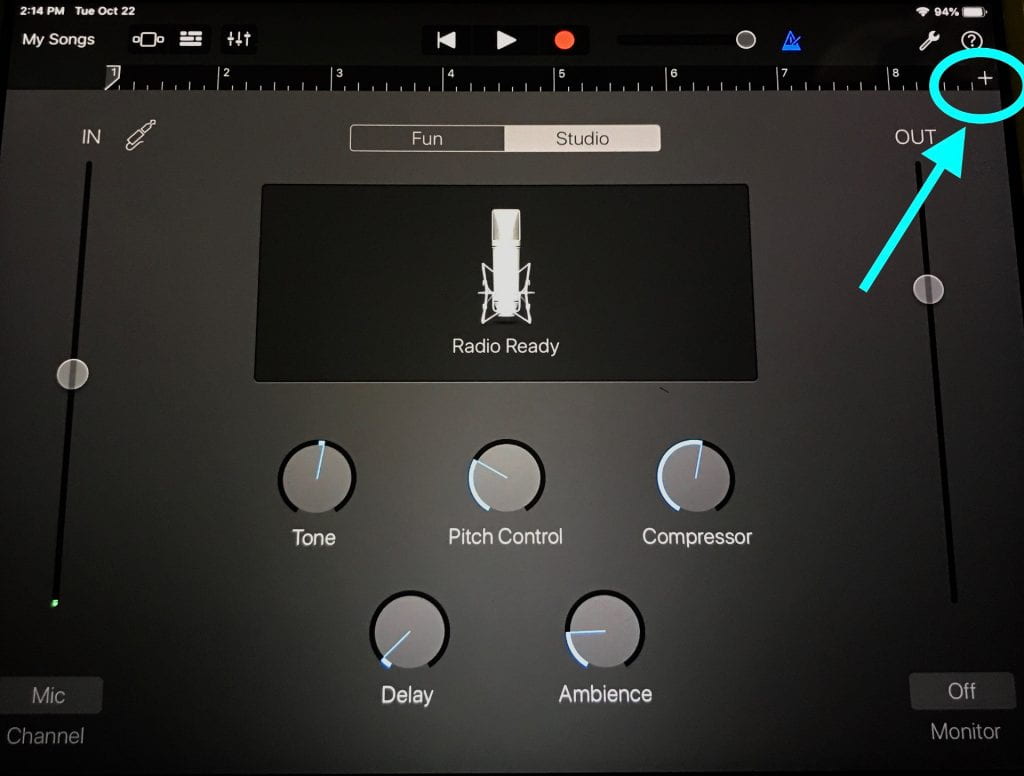
- Click the “+” sign on the top right corner to start a new audio recording
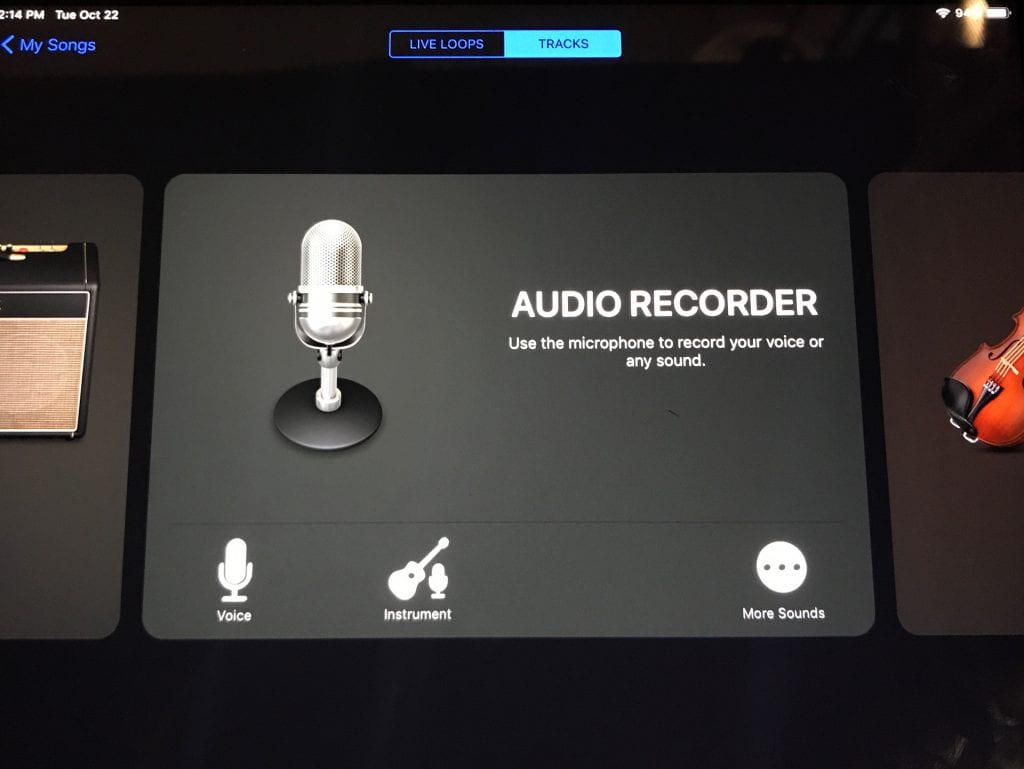
- Select “Audio Recorder”, then “Voice”
-

- Follow these IMPORTANT instructions to make sure the settings are correct:
-
- VERY IMPORTANT: in top right corner, click the “+’ symbol. Click on “Section A”, and toggle the “Automatic” button. This will ensure you record until you press stop; otherwise you’d only record 8 bars before recording stops.
-


-
-
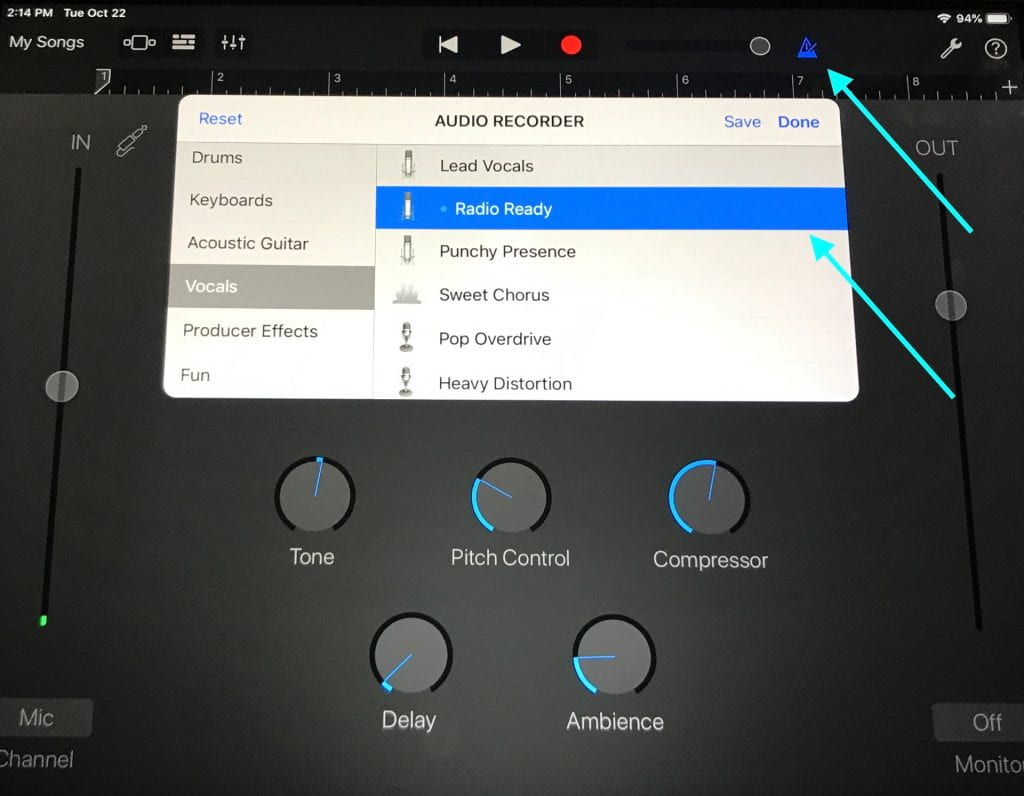
- Select “Radio Ready” from Vocal selection
- Press the “metronome” symbol (looks like a triangle with a stick), so that it is grey, not blue. If it is blue, you will hear the metronome clicking throughout your recording.
-

- Find a quiet space.
-
-
- If you are working on your own, it’s best if you connect headphones to iPad that have built-in microphone, like the Apple earbuds.
- If recording with a small group, go somewhere there’s not a lot of noise to record.
-
-
- Follow these steps to record:
-
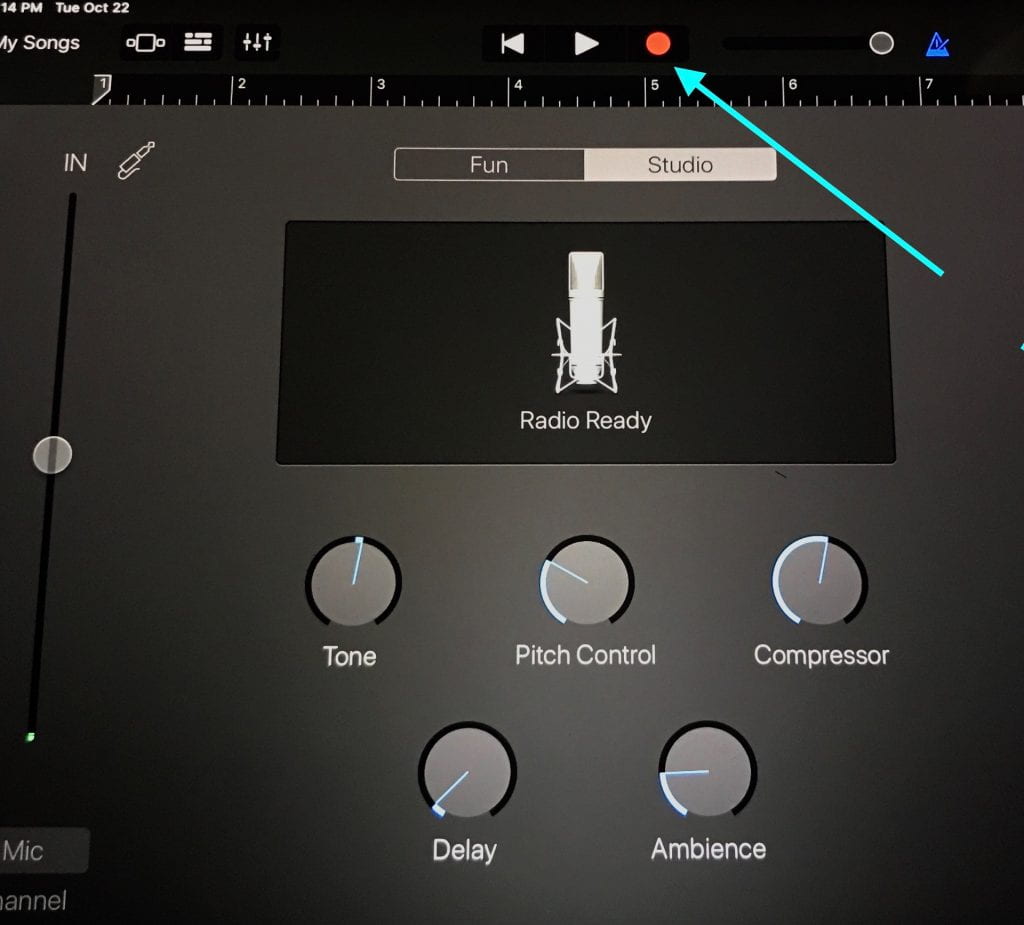
- When you are ready, press the record button (red dot at the top of the screen) to begin recording. Press the stop (square button) when you are finished.
- You can stop and start with your recording but make sure your cursor is where you left off when recording! It will always count you in from 4 so don’t start talking right away!
- At any point in type you can press the “undo” arrow, which will delete everything and start over.
-

- When you’re done:
-
- When you are done, Click “My Songs” on the top left corner
- Press your file once (or hold for 3 seconds) to rename your file- rename to your class and group names (i.e.: 8T Bob, Larry, Junior)
- Press your file again now to ‘share’. Select “SONG” not project.
- Select High Quality. Airdrop to Mrs. Jenden’s Macbook
-

